
I'm partial to Float Glass because of the industrial nature of the material and the process of turning it into sculpture. It creates a rugged, yet always elegant material when fired. Glass also is a wonderful ethereal-feeling counterpart to the concrete that i use in my sculptures.
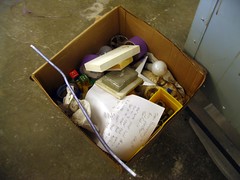
I start with a collection of objects, ( and my kiln firing schedule!). I always bring more things that i'll use when i'm working at the glass school, just in case. there's an element to the process i use that is somewhat spontaneous and improvisational. Sometimes i change my mind at the last minute.
my box of stuff, some of which i made, some of which i found:
Usually i sketch out my compositions and prep my objects ahead of time. i think about the series that i'm creating and the end result i want. sometimes i want larger sculptures, smaller more easily shipped pieces to sell online, or pieces for commissioned jobs.
Then the hard part starts.
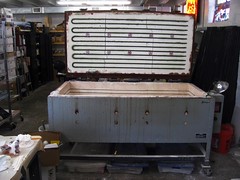
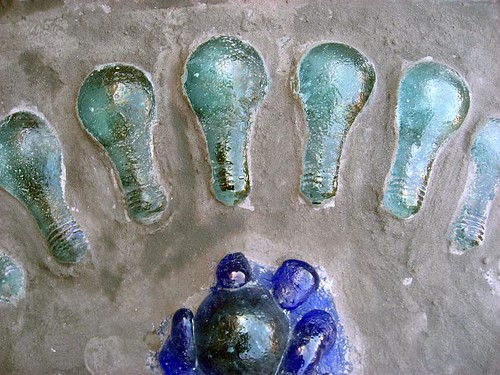
I create plaster molds inside the kiln:
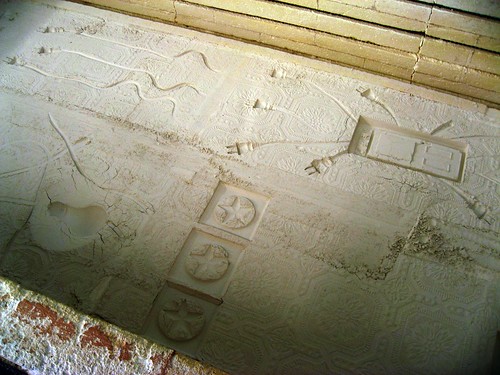
You have to be very meticulous during this stage. i often breathe out very loudly after each detail is complete. an exhale of relief. You create the mold in steps with the shallowest detail first, to the deepest part of the relief last. but any shimmying can ruin all your detail. heaven forbid you knock one of your objects into the plaster.. not that i've ever done that..... nope. not me.
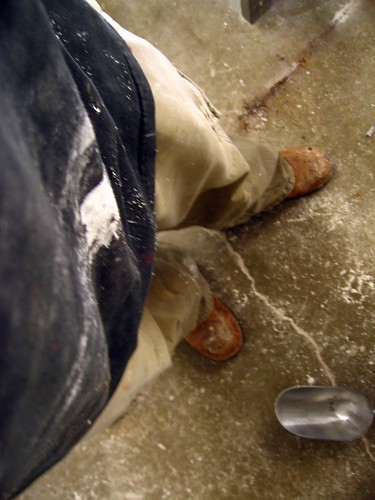
working with all that plaster gets messy.
once the imagery and texture are finished and the molds are all set,
i cut all my glass, and place it over the forms.
Because the plaster acts as insulation and the castings are made of a solid 1/2 thick piece of glass, it takes a really long time for the complete firing. In addition to the insulation and thickness factor, glass must change temperature slowly in order to retain its integrity. As we heat up the kiln , we must do so gradually. once the final temperature, around 1600 degrees ( note: i may bit a bit off on that) is reached and held for a ( secret amount of) time, the glass must be annealed, or cooled off VERY slowly. I wont be able to open the lid of the kiln for almost two days.
I cant really foresee exactly how it will turn out. will the glass devitrify? will the glass fill all the detail of the molds? will there be air bubbles? will it crack in half? so many unanswered questions!
Once i pull the pieces out i will clean them off and clean out the kiln for another artist to use.
I will bring the pieces back to my studio and add concrete elements to each. i will also get them ready for hanging.
check back for photos of these steps soon.
and come see the finished pieces in person at Artomatic 2008
3 comments:
i'm really looking forward to seeing your work at Artomatic this year! these new works incorporating the glass are just so cool...
you create the plaster mold INSIDE the kiln? how? I've been playing with glass in my studio - to date fusing then slumping...I have plaster casts from clay stuff - but you say it takes longer than a usual fuse? and way higher too or is that the glass you're using? you're up to clay level firing at 1800!
i am certain to give you incorrect information if questioned on specifics. 1/2 of my firings seem to fail.
mike janis teaches a class in this at the washington glass school. that class will tell you all you need to know. my knowledge of the craft is tiny. his, enormous.
Post a Comment